Women’s Running
@WomensRunning
·
Stay safe during every run with these tips: #makeitsafe http://ow.ly/UlGh50CsQah
Health & Wellbeing


·
In yoga, we often talk about strengthening our core, but what does that mean, exactly? (Spoiler alert: Improved posture and less lower back pain.)

 “
“ #YJrepost Thank you for sharing your journey with us @brownyogigirl head over to Instagram to read the full caption.
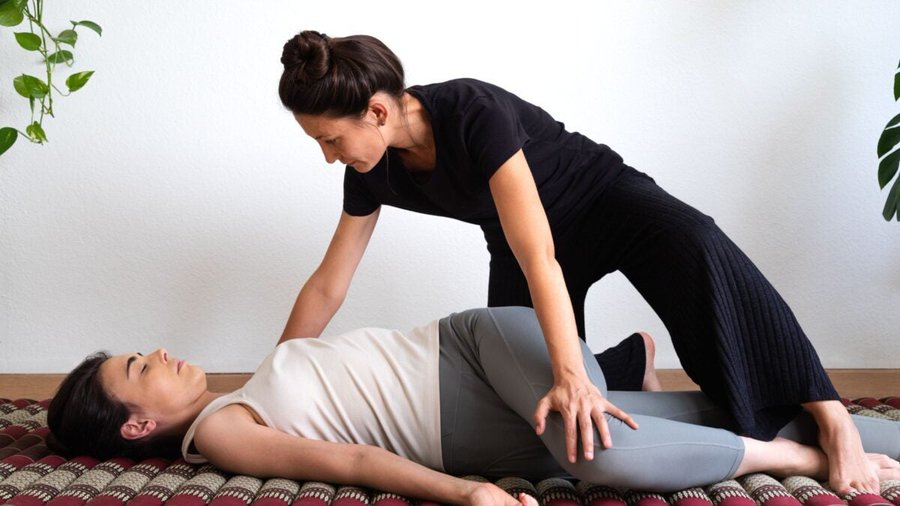


Sure, it’s old fashioned. But it’s also nutritional rocket fuel, and athletes are making it taste great. Here’s how.
February 28, 2023 Wes Judd
In a world of green juice and chia seed pudding, this age-old dish is the original, and perhaps most powerful, superfood, especially for athletes competing at the highest levels.
“I’ve asked a lot of elite endurance athletes about their breakfast foods, particularly before races, and oatmeal comes up again and again and again,” says Matt Fitzgerald, endurance coach, nutritionist, and author of The Endurance Diet.
You’re most likely to see oatmeal served with a ton of fixin’s, but even a bowl of plain oats holds its own as a nutritional panacea. Oatmeal is a whole grain (unless you buy oat bran—just part of the seed—as opposed to rolled oats) filled with key vitamins and minerals, a low-glycemic carb that provides lasting energy for your workout and helps fuel recovery without causing a sugar crash, and high in fiber to aid your digestive and metabolic systems.
But a bowl of oats is also a big blank canvas, ready to be combined with a truckload of other high-quality, nutritious ingredients that make it even better training food. “That’s one of oatmeal’s great virtues. You can take it in so many directions,” says Fitzgerald.
Even energy bar companies use it. Picky Bars have Picky Oats, a lineup of better-for-the-athlete instant oatmeal chock-full of real ingredients to support performance, rather than added sugars or fake health foods. “I literally believe that besides energy bars, oatmeal is the next most pervasive food for athletes,” says Jesse Thomas, former professional triathlete and Picky Bars CEO.
It’s easy to make. All you have to do is boil a ratio of 1/2 cup rolled oats to one cup liquid—either water or a milk of your choice—and top it with whatever you need that day. (For steel-cut oats, change the ratio to 1/4 cup oats to one cup liquid.) Here’s how six athletes do it.
RELATED: Healthy Delicious Baked Oatmeal


Looking for an excellent and convenient workout? Try running — or even walking — up and down stairs for 10 minutes at a time, several times a day. #HarvardHealth https://bit.ly/3R9cMf1
We’ve all been there, caught between the desire to slow down and the need to push through the pain of an intense workout no matter the cost.
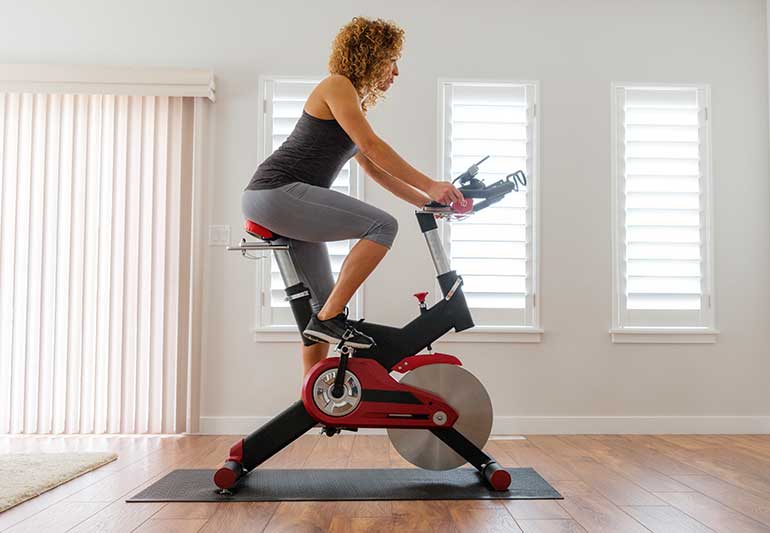
But if you’re a newbie to spin classes and indoor cycling, you may be confronted with a few positions that lead to discomfort or numbness that radiates through your lower extremities. If you’re not set up correctly from the starting line and don’t know how to reposition yourself, this numb feeling is the least of your worries for potential injury and an unsatisfactory experience.
Exercise physiologist and certified personal trainer Karen Feakes, CPT, explains how to find the right fit for your bike and helpful ways you can avoid injury and recover safely when cycling.
The benefits of cycling vary, but it’s a go-to practice for many people interested in building their endurance and improving strength and flexibility. Healthcare providers recommend aerobic exercises for 30 minutes at a time, five to seven days a week, making cycling a perfect low-impact choice to add to your fitness regimen. But just because it’s billed as a “low-impact exercise” doesn’t mean it’s never challenging.
A quick search for indoor cycling will likely give you a range of classes that run from performance-based classes to all-out get-fit courses.
“Indoor cycling classes offer different formats for various levels of fitness,” says Feakes. “Beginner classes could be as short as 30 minutes and promote basic principles of cycling. Anyone can pop into those classes to get a great workout, get their heart rate up, work on their endurance and build some of their leg strength. Advanced classes are structured to be performance-based to meet the needs of cyclists and triathletes and they can be up to 90 to 120 minutes long.”
If you’re new to cycling, or if you’ve dealt with knee, hip or leg injuries in the past, you might want to start off with a general cycling class before stepping it up to more performance-based courses. And even if you’re familiar with the routine but are just getting back into it after spending time away from cycling, starting slow is key to getting back on track. In those instances, you’ll want to consider doing 15-minute intervals and working your way up to an hour-long class over the course of five to six weeks.
“Cycling can become quite high impact, particularly at the hip and knee joint,” notes Feakes. “You want your experience to be enjoyable and realistic. In most cases, the adaptation process for getting used to cycling is around six weeks for most people, especially if you come in a little deconditioned.”
A majority of cycling injuries happen because of poor setup.
“Finding the correct positioning for you is really critical in terms of injury prevention,” states Feakes.
Here are some common injuries that can happen with indoor cycling, as well as ways you should position yourself for success:
Perhaps one of the most common cycling injuries, knee injuries can occur when you over-extend or over-flex your knee in any direction while pedaling. You can also experience a knee injury if you have too much or too little resistance and cause your femur (thigh bone) and your patella (kneecap) to grind against each other.
“You’ll get a sensation of either sharp pain or dull pain in your kneecap,” explains Feakes. “If your positioning is incorrect, most people will feel uncomfortable within 15 minutes and feel that pressure in their knee. And if someone already has existing knee complaints, this will only make those problems worse.”
One way to avoid knee injuries from happening is to adjust the height of your seat and the position or tilt of your seat. You can think of one complete pedal stroke like one complete revolution around a clock.
When you push to the bottom of your pedal stroke (in the 6 o’clock position), your knee should have a slight bend to it so your knee has 15 to 30 degrees of flexion. When your right leg is in the 3 o’clock position, your kneecap should be directly aligned with the ball of your foot and the center of your bike pedal.
“As you’re pedaling and you build up that cadence, your knee will track correctly while it’s in motion without being overly extended in any direction,” says Feakes.
And if you experience knee pain or swelling around your kneecap after your ride, you’ll want to rest, ice it right away, apply some compression and elevate your kneecap.
The day after you experience knee pain post-cycling, you’ll also want to get some range of motion back by flexing your hamstrings, quads and calf muscles below your knee to make sure your muscles don’t become too tight. Flexibility and mobility exercises can improve the function of your joints and muscles and speed recovery. It’s even helpful to do these at the conclusion of each class.
If you experience any foot pain while pedaling, it’s likely because you’re not wearing the proper footwear.
“A running shoe often has a lot of cushion but it doesn’t necessarily have a lot of stiffness,” says Feakes. “Sometimes, people can experience foot pain if they have too much motion in their foot as they’re pedaling.”
Gear up with stiff-soled shoes or cycling shoes with clipless (or clip-in) cleats that latch onto the pedal if you plan on participating in regular classes or cycle more regularly. Doing so will keep your feet glued to the pedal with much-needed support.
If you’re going to put in the work, you want to make sure you’re dressed for the occasion to avoid chafing and saddle sores. One sure way to do this is to wear cycling shorts without undergarments.
“If you’re shifting around in the seat and you’re also getting sweaty, you can end up with chafed skin from the seams of your undergarments,” explains Feakes. “Depending on the length of the class, you could also be rubbed raw.”
Feakes recommends showering immediately after each cycling session to minimize bacterial growth and applying anti-chafing cream before and after cycling to prevent chafing and soothe a sore area.
If you develop saddle sores, you’ll want to apply lubrication like Vaseline® or Aquaphor® daily and avoid cycling until they clear up after a week or two.
The numbing sensation you feel while cycling can often be fixed by making sure you position your seat correctly with the initial setup. But confronting pressure points in your behind and dealing with some numbness in your butt and lower back is common for most beginners.
“We don’t have a lot of fat in that region, so when you’re sitting in that seat, you’re sitting right on those sit bones,” explains Feakes. “Just like anything, we have to get accustomed to a load being placed in that area.”
If you need some added cushion, a padded seat cover can help provide some relief. But perhaps the best way to avoid that numb sensation and get used to the seated position is to slowly build up your cycling regimen over the course of six weeks, starting with short 15-minute intervals and working your way up.
“You want to build up your duration over several sessions to break in that tissue,” Feakes advises. “It’s an adaptive process, and you really have to get used to the ergonomics of the seat and having pressure in the seat as you ride.”
When you’re sitting in a forward, flexed position, you may find the muscles in your lower back become fatigued and/or start to spasm as you begin to cycle, especially if you’re new to cycling.
“For beginners, I’ll often keep the handlebar height up a little higher, and then, we’ll work on the position of their hands and how much flexion they have coming forward until it feels more comfortable,” says Feakes.
If your lower back pain persists, you may want to stop your ride and stand up for some stretching exercises to help extend some of those lower back muscles.
Cycling is an excellent form of exercise. With the right preparation and recovery tools, it can be a beneficial part of your everyday fitness. Working on your hip and lower back mobility, as well as incorporating other well-rounded strength training activities, can also help prevent injuries while cycling and make the experience more enjoyable.
And if you’re not sure where to start, there’s more than one path to get you in the cycling mood. Yoga, for example, is one solid starter to stretching those hips and getting ready for the ride.
“I encourage beginners to integrate indoor cycling into their fitness regime one to two days each week for general fitness improvements, weight management and to build strength and endurance,” says Feakes.
Another bonus? “In addition to the health benefits, indoor cycling classes provide a social outlet and can be a great opportunity to build friendships and find support.”

